Blog.SSHKit.com — How to bypass “Let’s connect you to a network” in Windows 11 installation. In the previous tutorial we discussed How to Install Windows 11 without logging in to a Microsoft account , under the pretext that in Windows 11 Home, we are required to login. first a Microsoft account. But this time, Microsoft is acting again, not only on Windows 11 home, now Windows 11 Pro also requires us to connect to the internet on the OOBE menu . However, if you are one of those people who don’t want to log into a Microsoft account or don’t have an internet connection, you can follow the short steps below.
Bypass “Lets connect you to a network” in Windows 11 Installation
Step 1. On the OOBE screen “Let’s Connect you to a network” , press Shift + F10 to open the Command Prompt (CMD).

Next, type OOBE\BYPASSNRO and hit enter .

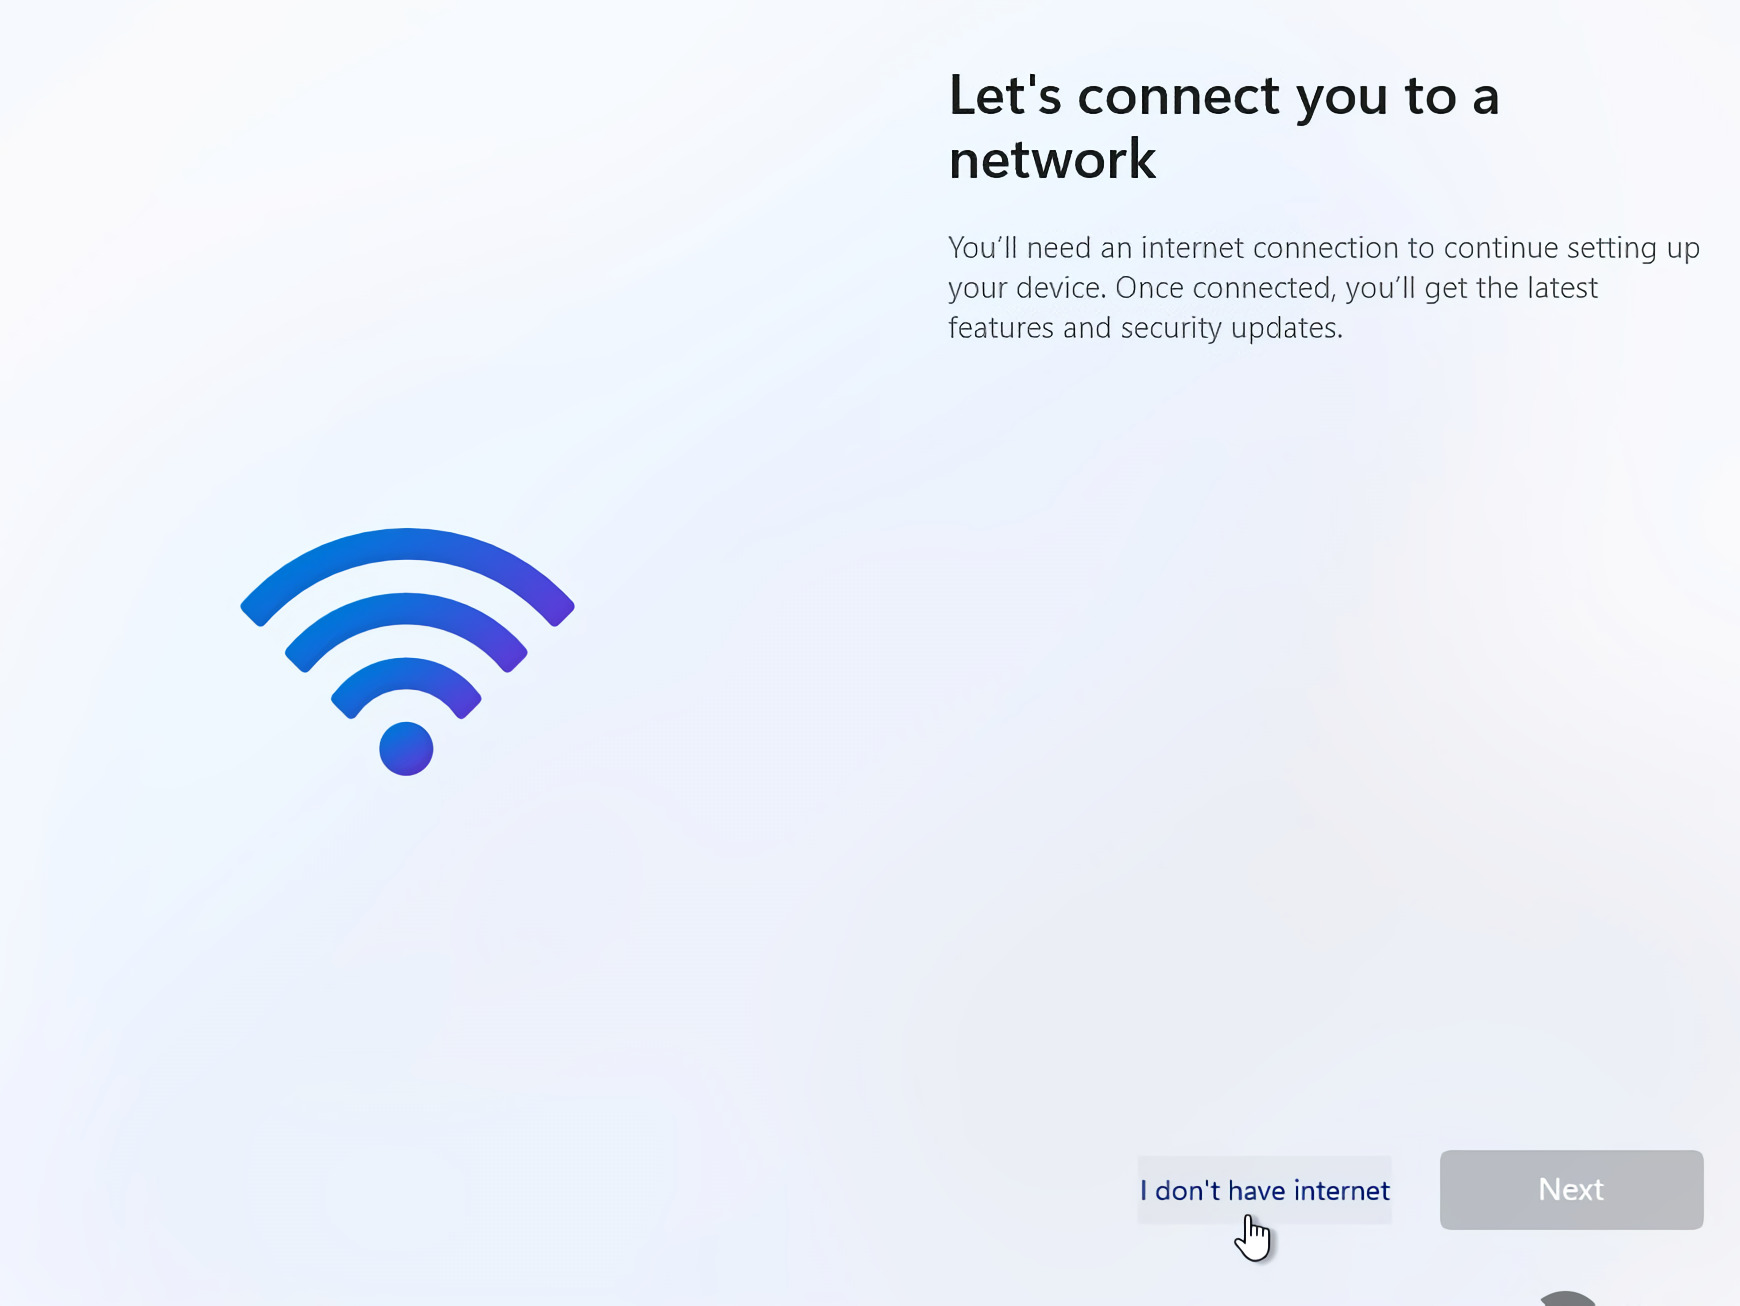
Step 2. Then your pc will automatically reboot, and when you enter OOBE again, the “I don’t have internet” menu will appear on the bottom menu, click on the menu.

Step 3. On the next menu, click the “Continue with limited setup” option at the bottom to complete the OOBE. This will allow you to login to Windows using a local account.

When finished, you will immediately enter Windows 11. And you can continue to use your windows without a Microsoft account.

Conclusion
That’s a short tutorial this time, you need to note that some services that require a Microsoft account may not work on local accounts such as the Microsoft Store and unfortunately there is no solution for this. Good luck and hopefully useful!

