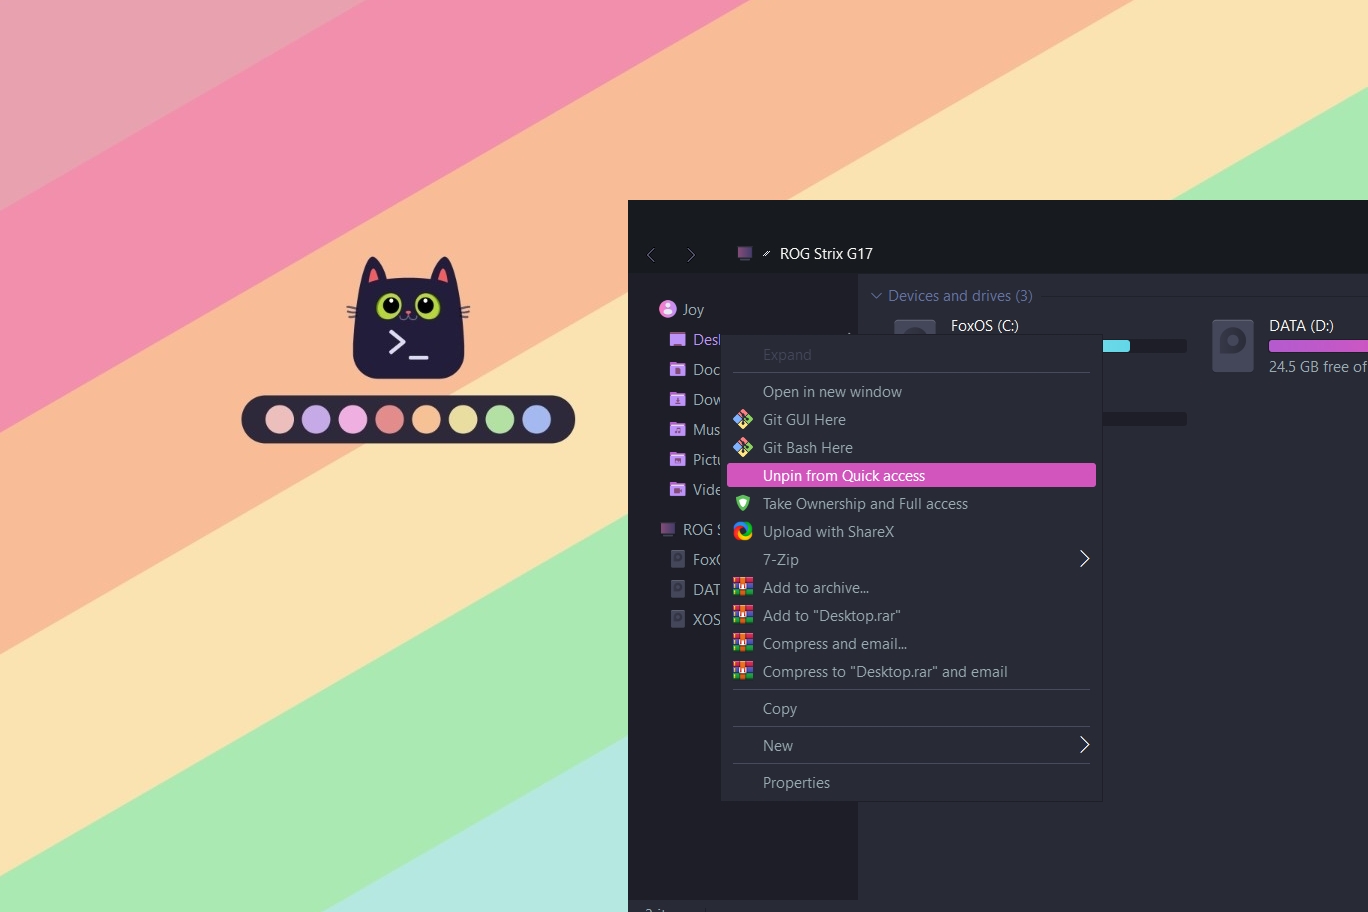
Blog.SSHKIT.com — How to Restore the Old Context Menu in Windows 11. Windows 11 brings a new design to the interface, including the context menu, which is quite uncomfortable for user. The reason for this is because in the new context menu there are a number of missing menus, as well as the lack of application integration.
Even so, Microsoft itself has provided an old context menu option at the bottom, by clicking Show more options . However, this method is less practical. You can change this new context menu to be like before, like the Windows 10 context menu by following the short tutorial below.
Restoring the Old Context Menu in Windows 11
If you want to replace your new context menu with the old one, follow the steps below.
Step 1: First, open CMD or Terminal as Administrator . Or you can use Windows Powershell as Administrator.

Step 2: Next, please enter the command below to create a new registry:
reg.exe add “HKCU\Software\Classes\CLSID\{86ca1aa0-34aa-4e8b-a509-50c905bae2a2}\InprocServer32” /f /ve

And then enter.
Step 3: Restart your windows. If you have restarted please try right-clicking on your desktop.

To restore the new context menu you can use the command below:
reg.exe delete “HKCU\Software\Classes\CLSID\{86ca1aa0-34aa-4e8b-a509-50c905bae2a2}” /f
Done.
Conclusion
That’s all for this short tutorial, now your new context menu has changed to the old context menu. Good luck and hopefully useful.

![[Blog SSHKIT] Restore Old Context Menu](https://blog.sshkit.com/wp-content/uploads/2021/12/MY-NEW-FOLDER.png)
