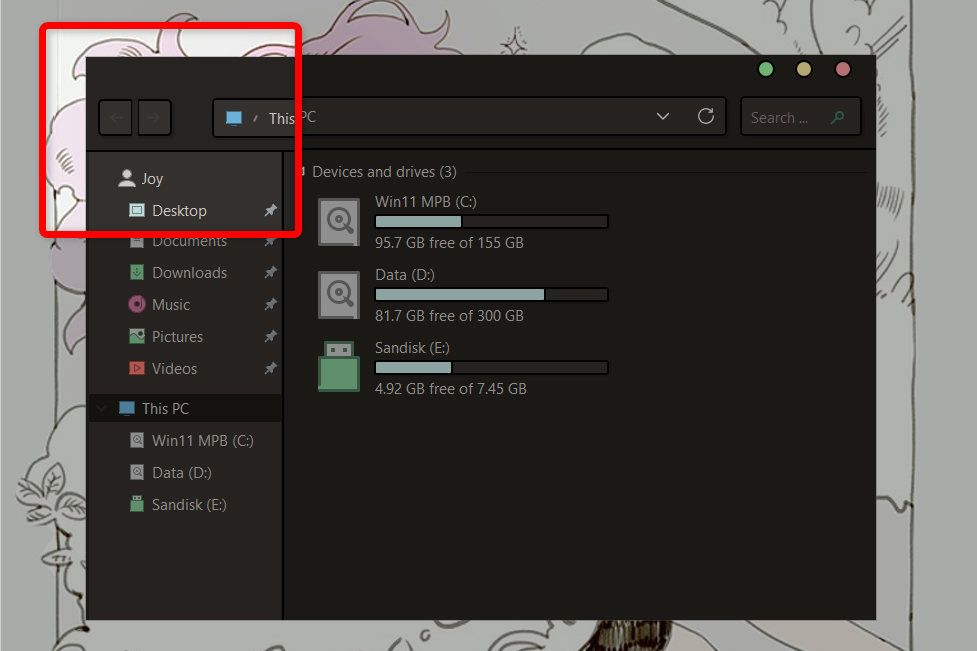
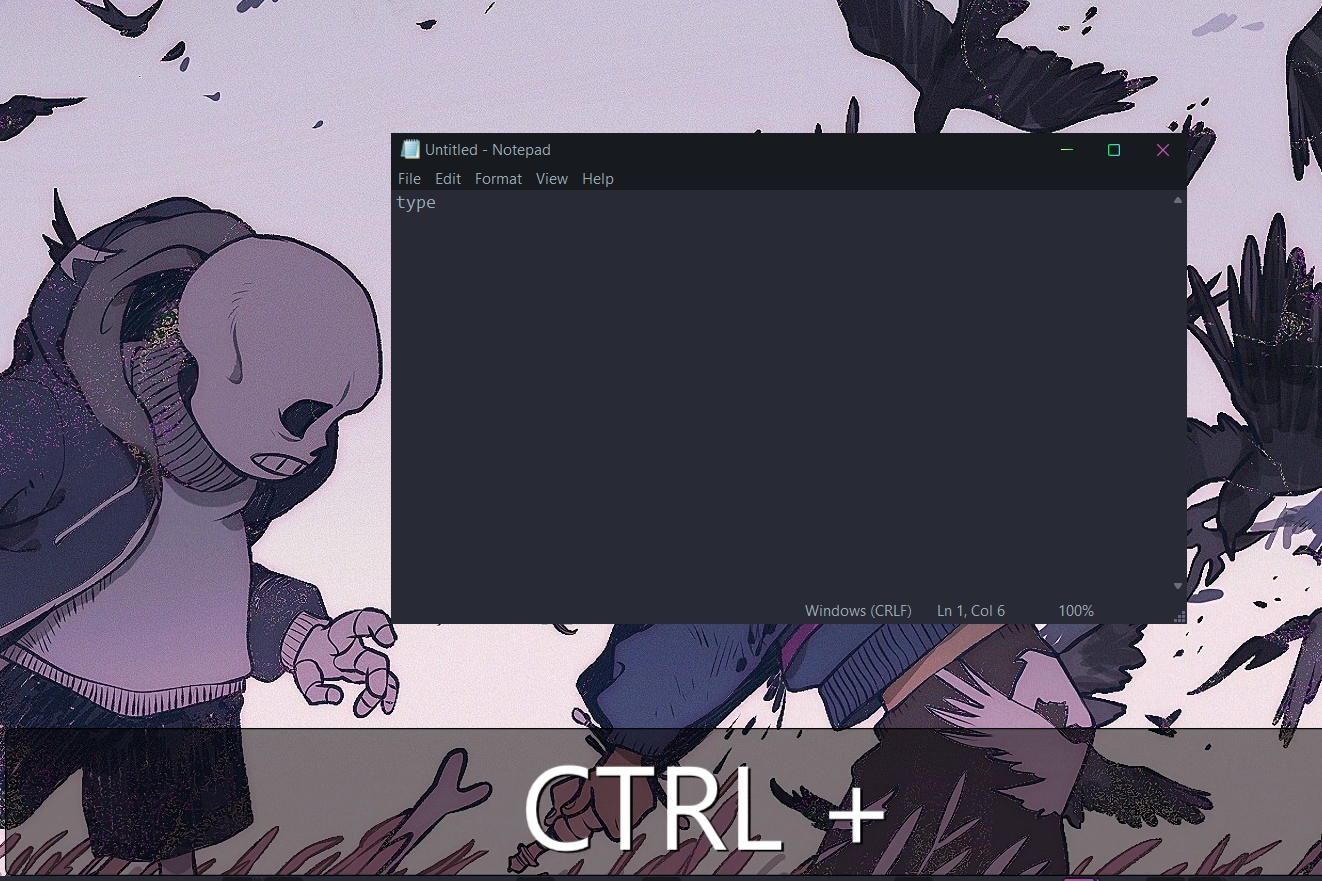
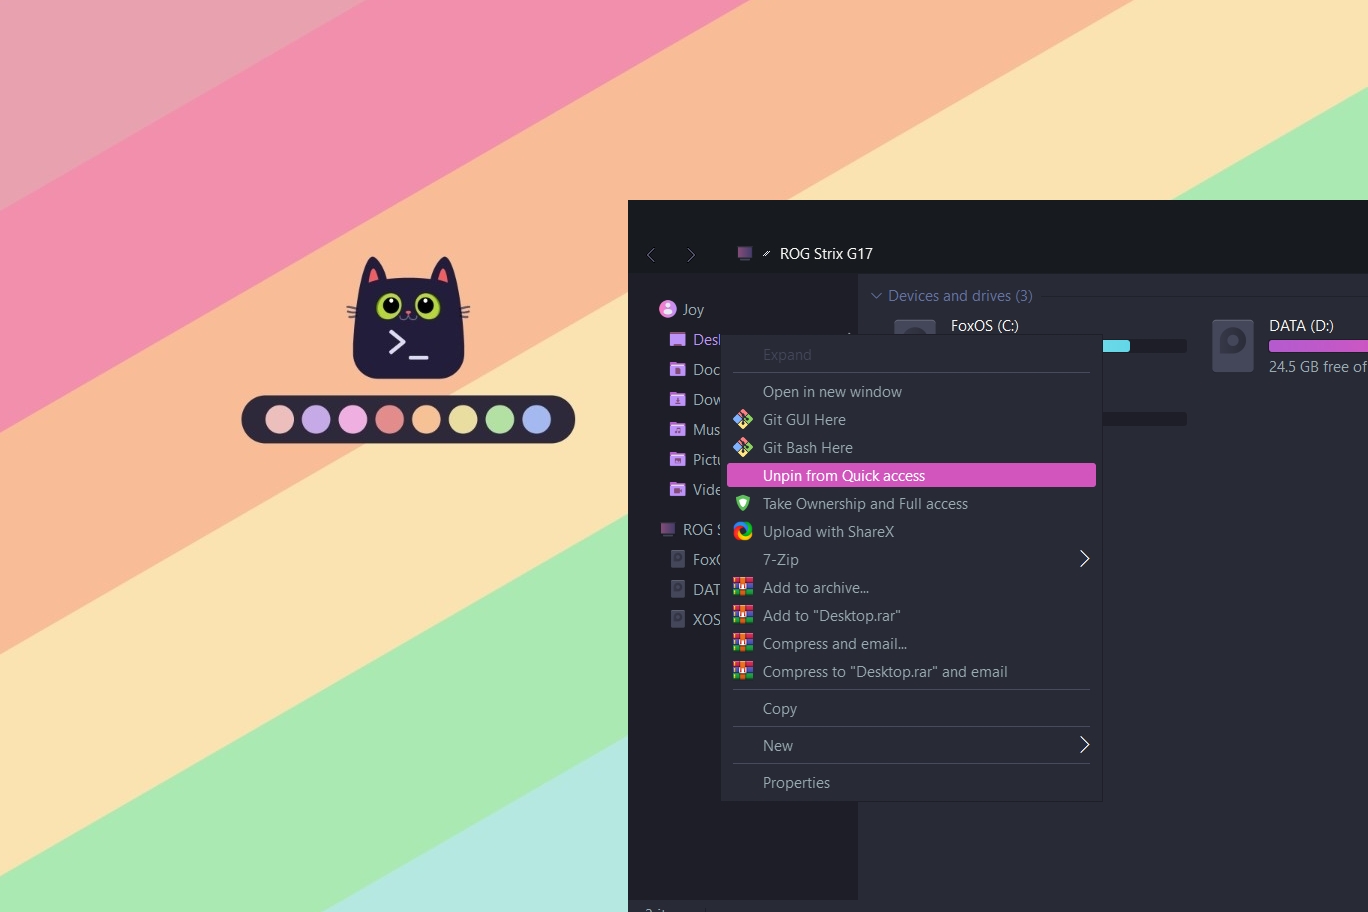
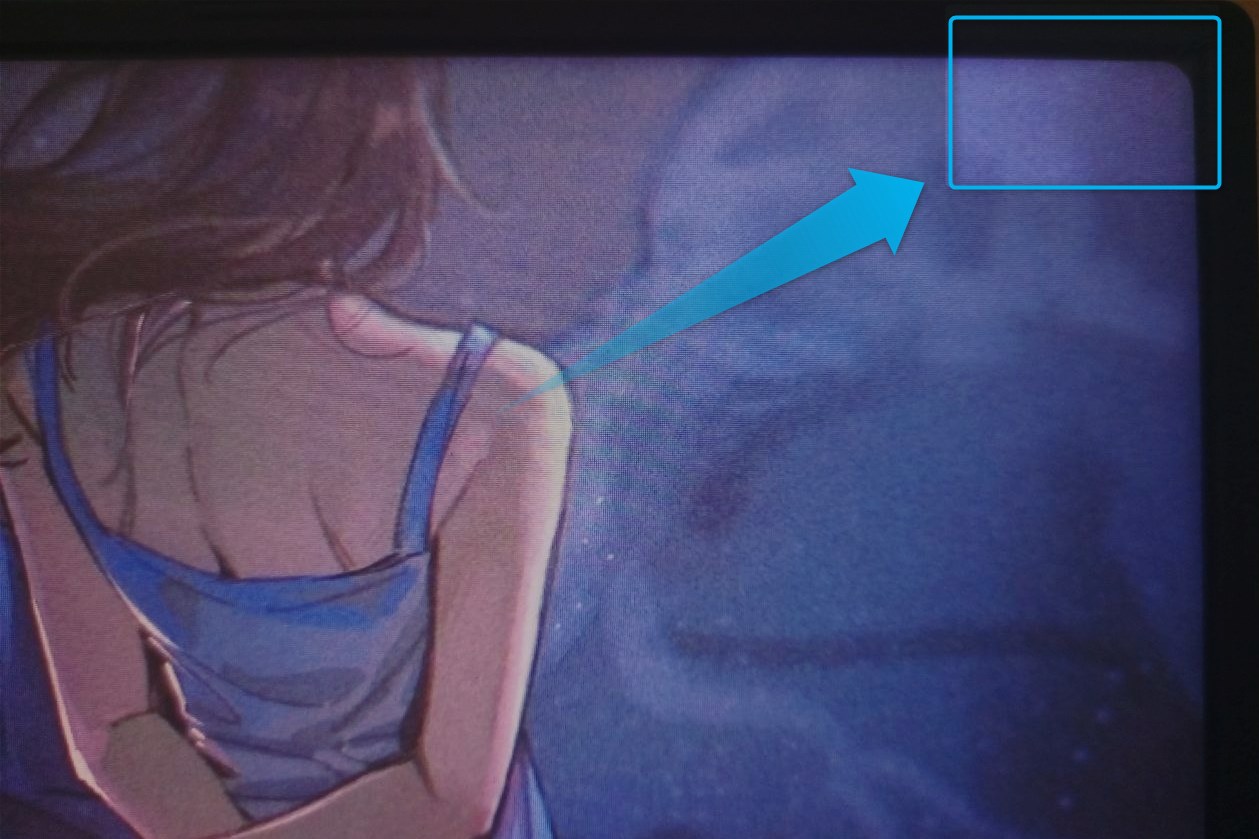
Blog.SSHKIT.com — How to Disable Rounded Corners in Windows 11. Microsoft completely overhauled the appearance of the new Windows, namely Windows 11. The UI looks more luxurious now than the previous Windows, namely Windows 10. Maybe most of you have switched to Windows 11 because you are interested in the appearance of Windows 11. But maybe there are a few of you who feel that expanding or resizing this window feels a little difficult because of the rounded corners .
Yep, rounded corners, unlike Windows 10 which has sharp corners, in Windows 11 the corners are rounded. This makes expanding and resizing more difficult because it is difficult to hover over the corner of the window to resize. You might be able to use the AltDrag app to make this easier. Or, you can restore pointed corners in Windows 11. Here is the tutorial.
Disable Rounded Corners in Windows 11
The first thing you need to do is make a System Restore, this is just in case something unexpected happens. Once done, follow the short tutorial below.
Step 1: First download the Win11DisableRoundedCorners application at the link below:
Step 2: After that, open the C:/Windows/System32 folder , then look for the uDWM.dll file , then make a copy of the file as a backup . This is because the application will modify your uDWM.dll file , so just in case we can do a backup .

Step 3: Right-click the Win11DisableRoundedCorners.exe file and then click Run As Administrator. After that wait for the process.

When finished, your windows 11 corner will automatically become pointed.

To return the rounded corner . Repeat step 3 earlier .
NB: BEFORE updating windows, please return your Windows 11 rounded corner using the application earlier.
Done.

