Blog.SSHKit.com — How to Record Screen Using Microsoft Powerpoint. Did you know that Microsoft Powerpoint has a feature for screen recording? In this article, we will show you a method to record screen on using powerpoint.
Microsoft Powerpoint has many features to make your work easier. One of them is to do a screen recording for you to make a short video clip for your PowerPoint slide. You can also save the recording just like recording using a screen recorder application. For how to do this, you can see the tutorial below
Record Screen Using Microsoft Powerpoint
1. First, open Microsoft Powerpoint on your PC. Then create a new PPT file or a file you already have.

2. Open any window or screen you want to record. For example, here you want to record a desktop screen or record a full screen.

3. Then open Powerpoint again. Then open the Insert menu then click the Media menu and select Screen Recording.

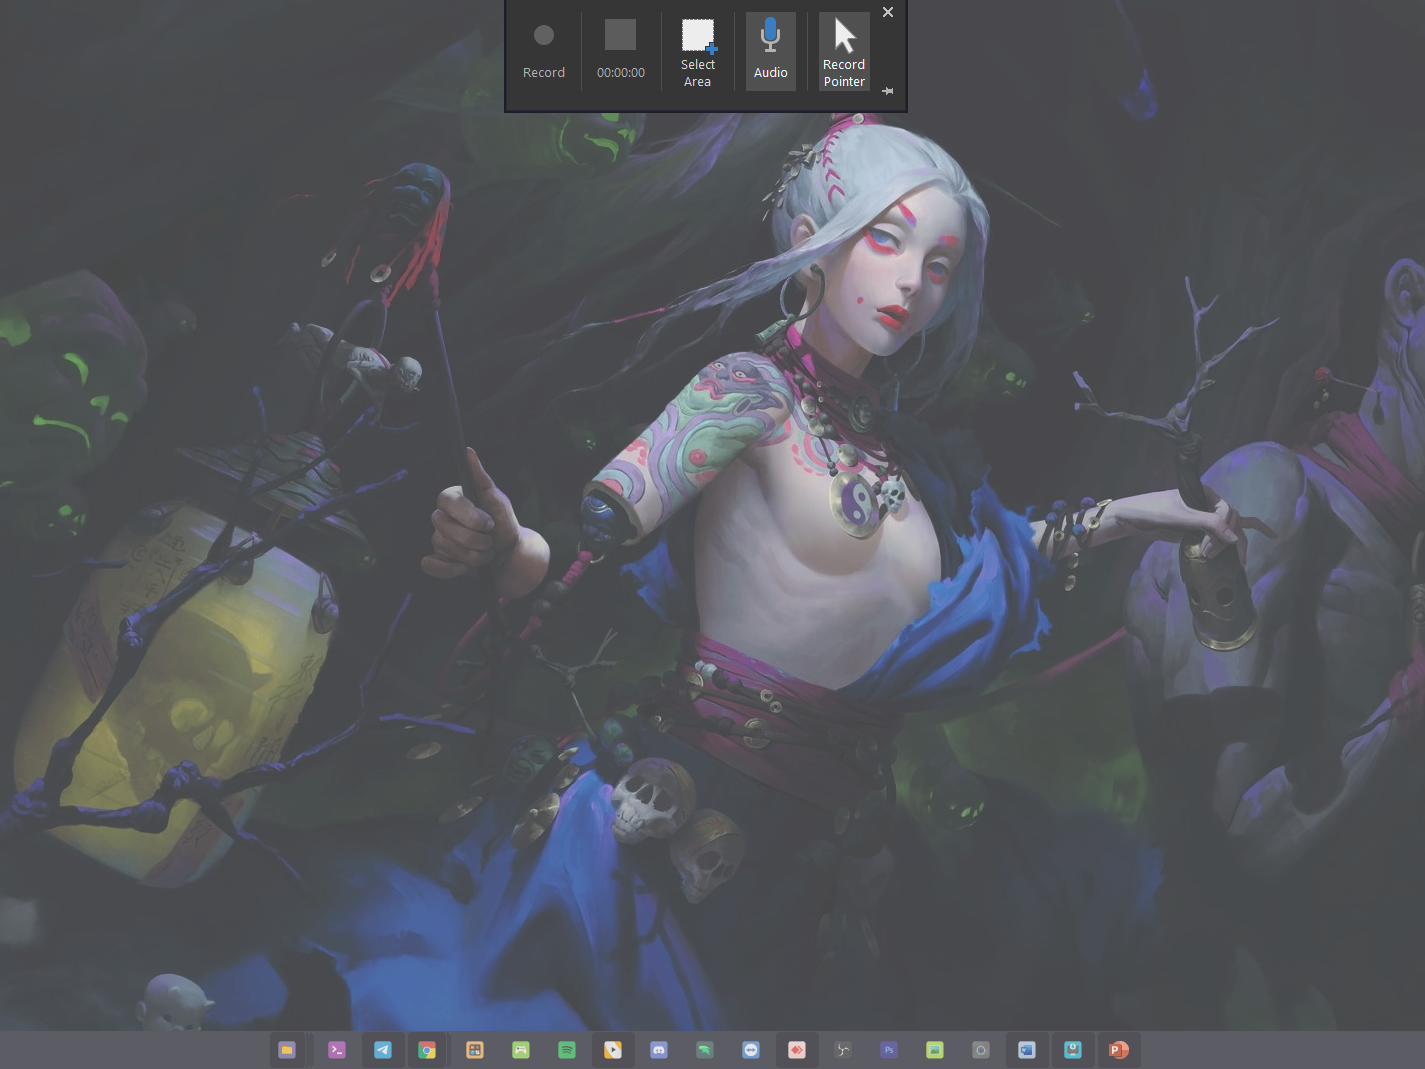
4. Then you will automatically be brought back to the previous screen or window. Please select an area to record the screen. You can turn off the microphone if you want.

5. After that please click Record to start recording.

6. To stop recording please press Windows + Shift + Q or click the Stop button on the top menu.

7. When finished, the recording will appear on your slide, you can use it for your presentation.
8. Or if you want to save the recording as a video, please press F12 to “SAVE AS” then select the MP4 format. Finally enter a name then click SAVE.

9. Wait for the process to save it.

When finished, your recording is finished.

Good luck and hopefully useful.

