Blog.sshkit.com – How to Make an Internal Hard Drive External. There are many facts that are true for changing an internal hard drive to an external one, the same as when you swap a hard drive for an SSD for more powerful gaming performance.
Or when you change it with a hard drive with greater capabilities. So, ready to replace your hard drive into an external hard drive? Follow the steps below.
How to Make an Internal Hard Drive External
Check Hard Drive Health
The first step that needs to be done is to check the health of the internal hard drive. Previously, the hard drive was pulled from a PC or netbook, emphasize if your hard drive is not destroyed so that the data that is stored later is not corrupted or lost.
The trick is also quite easy, you need to open Windows Explorer and right-click on the hard drive partition which will become an external hard drive. Next, specify the Properties menu and click the Tools tab. Click on the Check option in the “Error checking” section.
This tool will scan the hard disk to check for errors or maybe not. If after the scan there is no error statement, it means that your hard drive deserves to be an external hard drive.
Backup Important Data (Optional)
Switching hard drives is a job that can be called effect. Nobody knows if your hard drive will be destroyed when pulled. Therefore, you should have backup data in case the data to the hard drive gets lost.
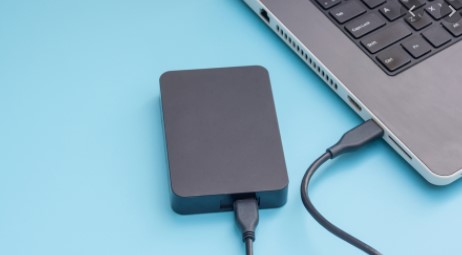
Purchase the Same Enclosure
Enclosure is a place to load external hard drives. Usually, the enclosure is made of plastic or metal and can connect a hard drive with a USB 3.0 slot to a PC or netbook.
There 2 versus enclosures that can used, depending on the size of the hard drive. The internal hard drive to the PC has a size of 3.5 inches and must attached to a 3.5 inch enclosure as well.
Then, there is a special netbook hard drive enclosure that has a 2.5 inch size. It’s quite easy to distinguish between the 2 enclosures – versus 3.5 inches there is an additional cable to plug into the setop contact. You see, the PC hard drive does need to plugged into the electricity so that it can glow.
Remove the hard drive from the PC or Netbook
The next stage quite prone because you required to crack the hardware side of your PC or netbook. However, one of the steps to replace the internal hard drive to be external is that it should be removed first.
For PCs, some cases require you to take the left or right side of the CPU using a screwdriver. There are also cases that have a button to release the case. However, usually the casing has a bolt that can be opened using a screwdriver.
Pull out the hard drive slowly – don’t pull it so hard that it doesn’t crumble. Then, unplug all cables attached to the hard drive such as IDE or SATA cables and power connector.
Put the Internal Hard Drive into the Enclosure
The way after that, insert the hard drive into the enclosure according to the type of hard drive. If you have a PATA type hard drive. You must connect the IDE cable and power connector to the enclosure with your hard drive. If in SATA mode, you need to plug the hard drive into the existing SATA port to the enclosure as shown above.


